Is your Craftsman lawn tractor's bagger malfunctioning? Don't despair! This comprehensive guide provides step-by-step instructions to diagnose, repair, and maintain your bagger, saving you time and money. We'll cover identifying parts, sourcing replacements, and performing common repairs. For similar bagger troubleshooting, see this helpful guide on Troy-Bilt baggers. Let's get started!
Identifying Your Model Number: The Key to Success
Before you begin any repairs, finding your lawn tractor's model number is paramount. This number, typically located on a sticker under the seat or hood, acts as a unique identifier for ordering the correct parts. Write it down – you'll need it for every step! Without the correct model number, finding compatible parts becomes significantly more challenging.
Understanding Your Bagger System: A Closer Look
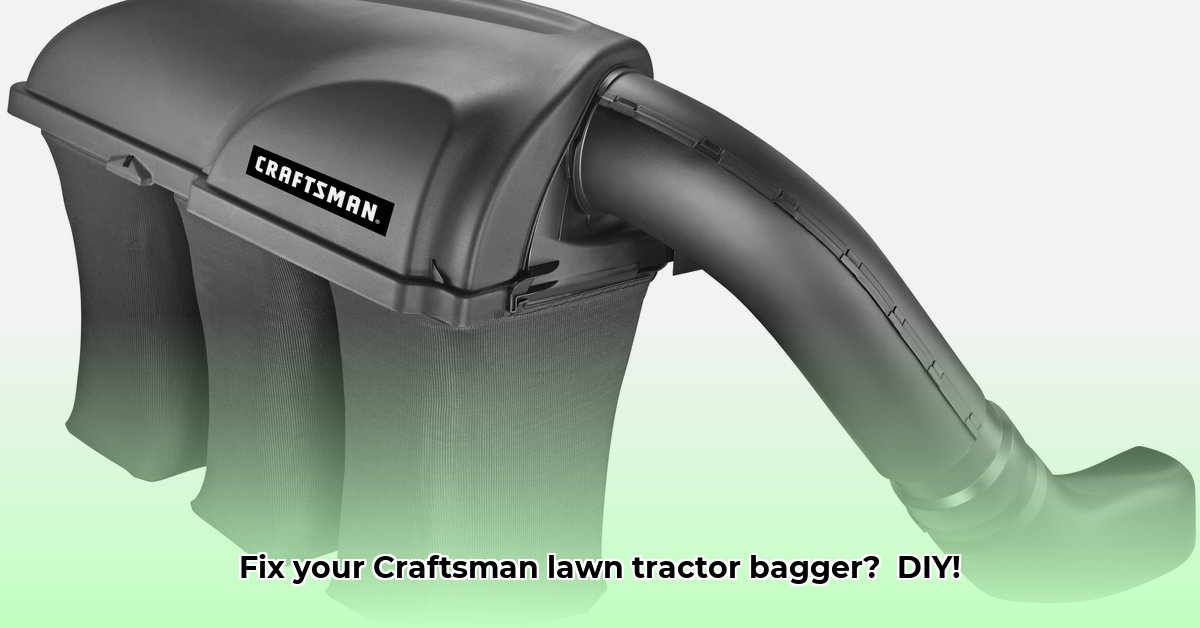
Your Craftsman lawn tractor bagger isn't just a simple bag; it's a system of interconnected components. Understanding these components is crucial for effective troubleshooting.
- Collection Bag: The main compartment for collecting grass clippings. Tears and punctures are common issues.
- Discharge Chute: The funnel guiding clippings into the bag. Clogs are a frequent problem, often caused by wet grass or debris.
- Top Cover: Protects the bag and maintains a neat appearance. Can crack or break over time.
- Full Bag Indicator (if equipped): A sensor that signals when the bag is full. Malfunctions are relatively infrequent but can occur.
A visual inspection of these components can quickly pinpoint the source of any problems.
Common Bagger Problems and Solutions
Many bagger issues are easily addressed with simple repairs. Let's review some common problems and their solutions:
Torn Collection Bag: Replacing the entire bag is usually the most efficient solution. While patching might be a temporary fix, a new bag offers greater durability and long-term cost-effectiveness.
Clogged Discharge Chute: This typically requires cleaning. Use a brush, stick, or compressed air to carefully remove the blockage. For stubborn clogs, a garden hose might be necessary.
Cracked or Broken Top Cover: Depending on the extent of the damage, repairs with adhesive or complete replacement might be necessary. Minor cracks can often be sealed effectively with a specialized sealant.
Malfunctioning Full Bag Indicator: This may involve a simple adjustment or might necessitate replacement. Consult your owner's manual for troubleshooting steps.
Sourcing Replacement Parts: Your Options
You'll need to source replacement parts effectively. Here's a comparison of two popular options:
| Source | Advantages | Disadvantages |
|---|---|---|
| Sears PartsDirect | Guaranteed Craftsman parts; clear diagrams; detailed descriptions. | Potentially higher prices compared to other retailers. |
| Amazon | Wide selection; potential for lower prices; convenient online access. | Part compatibility isn't always guaranteed; product quality varies among sellers. |
Careful consideration of cost versus reliability is crucial when choosing your supplier. Always double-check part compatibility with your model number before purchasing.
Repair and Maintenance: Step-by-Step Instructions
Let's detail some common repair procedures. Always disconnect the spark plug before performing any maintenance to prevent accidental starting.
1. Replacing the Collection Bag:
- Detach the old bag: Carefully unfasten any clips or straps securing the old bag.
- Inspect the mounting: Check for any wear or damage to the mounting system.
- Attach the new bag: Secure the new bag according to the manufacturer's instructions (usually included or available online) ensuring a snug and secure fit. A poorly installed bag leads to further problems.
2. Clearing a Clogged Chute:
- Remove the collection bag: This provides better access to the chute.
- Clear the clog: Use a suitable tool (brush, stick, or compressed air) to carefully remove grass and debris. Gentle pressure is key to avoid damage.
- Reattach the bag: Once the chute is clear, reattach the bag securely.
These are just examples; consult your owner’s manual for specific instructions related to your model.
Reattaching the Bagger: A Simple Procedure
Once repairs are complete, reattaching the bagger is generally straightforward. Most models utilize simple clips or latches. Refer to your owner's manual for precise guidance, ensuring all components are securely connected. A loose connection may lead to issues and potential injury.
Preventative Maintenance: Extending the Life of Your Bagger
Regular maintenance is key to prolonging the lifespan of your bagger. This includes:
- Regular Cleaning: Empty the bag after each mowing session to prevent clogs and buildup.
- Visual Inspection: Regularly check for any signs of wear and tear.
- Chute Cleaning: Clean the chute to maintain efficient airflow.
These simple steps prevent major issues and reduce the need for costly repairs.
Conclusion: Maintaining Your Craftsman Bagger
By following these steps and employing consistent maintenance, you can keep your Craftsman lawn tractor bagger functioning optimally for years to come. Remember, knowing your model number is paramount, and thorough cleaning is essential. Happy mowing!